Hand Tools

  • Plastic Air foam gun
  • Plastic Air foam gun
  • Plastic Air foam gun
  • Plastic Air foam gun
  • Plastic Air foam gun
  • Plastic Air foam gun
  • Plastic Air foam gun
Plastic Air foam gun Plastic Air foam gun Plastic Air foam gun Plastic Air foam gun Plastic Air foam gun Plastic Air foam gun Plastic Air foam gun

Plastic Air foam gun

Description of foam gun:
These foam guns are used in the field of constructions for mounting of standing finish, windows and doors, fixing of roof tiles and insulating panels, pipes, sound and electrical insulation, filling and sealing of gaps/cracks, panel gluing and other applications.
All our foam gun applicators are European standard with CE approved and meet standards of high mechanical performance with high push ratios and unparalleled air tightness.
Directions for use of the FOAM GUN :
1. Take a can of foam and shake vigorously.
2. Screw can onto adapter of foam gun (not too tight).
3. Release the flow adjustment screw lightly and dispense foam immediately to fill the entire gun with foam.
4. The foam gun is now ready for use.
5. Foam output can be controlled with flow adjustment screw.
After use of the Foam GUN :
1. Leave gun filled with foam after use. Always keep a filled can of foam on the gun.
2. Tighten the flow adjustment screw completely. Do not empty the gun. Gun must always be filled with
foam; otherwise foam is cured by humidity in the air.
3. Store can straight up (gun on top of can).
Use foam gun again :
1. Shake the can vigorously (keep hold of the gun).
2. Remove cured foam at the tip of the nozzle carefully with a small, sharp knife.
3. Release the flow adjustment screw lightly and dispense foam immediately until the flow of foam is correct.
4. The gun is now ready for use.
5. Foam output can be controlled with trigger of the gun.
Replacing of the can foam:
1. Check if can is empty by dispensing foam in a dust-bin until no more foam is released.
2. Take a new can of foam. Shake vigorously.
3. Unscrew the empty can (keep valve opening away from you), remove released foam from adapter and
replace the empty can immediately by a new one without using Cleaner.
4. Dispense foam immediately to fill the extension tube.
Cleaning of the foam gun at times of interruption :
1. Unscrew the can of foam (keep valve opening away from you).

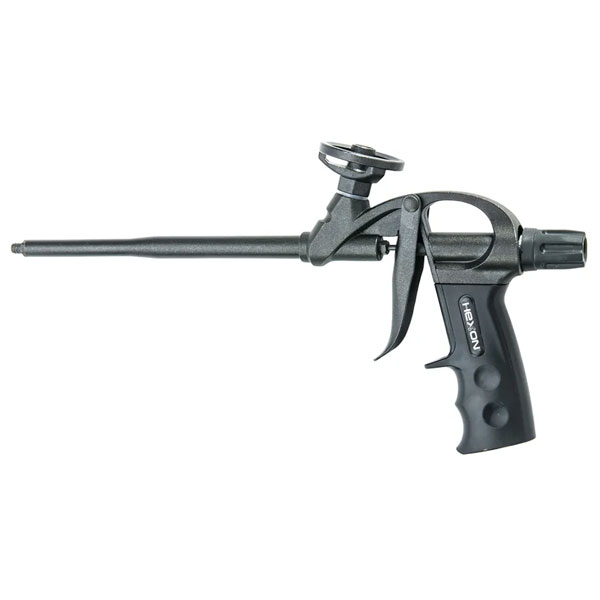
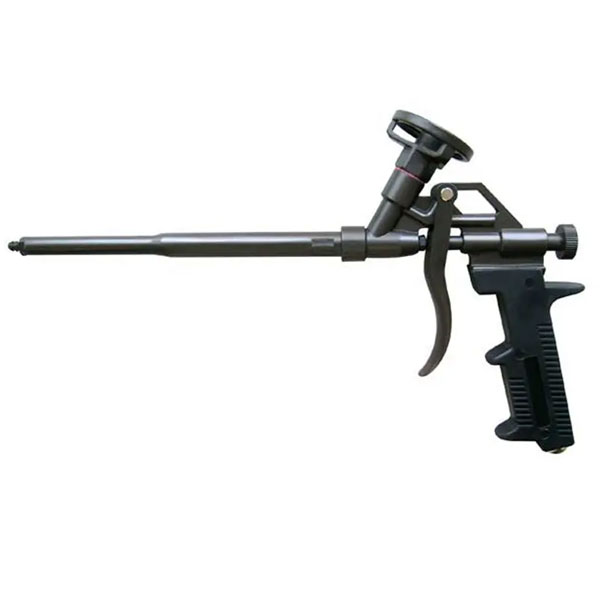
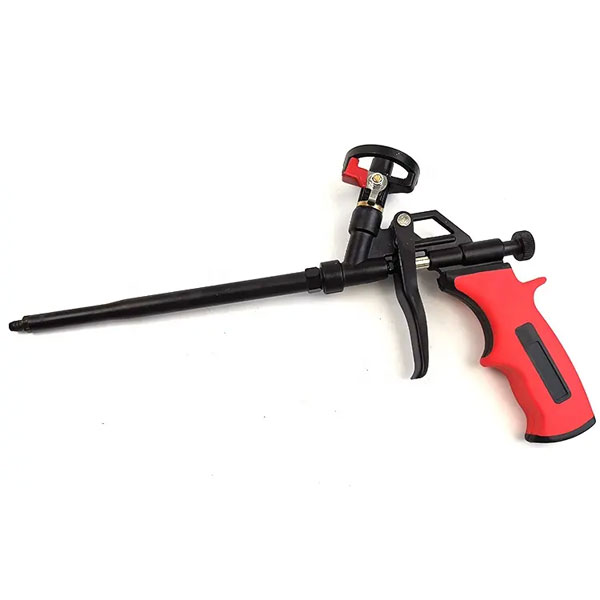
2. Take a can of FOAM GUN CLEANER and screw the can on to the gun.

3. Pull the trigger to fill the gun with cleaner.
4. Cleaner has to remain in the gun for about 15 minutes.
5. Pull the trigger again to refill the gun with cleaner.
6. Unscrew the can foam gun cleaner.
7. Wipe superfluous cleaner from adapter with a tissue. Spray adapter with Vaseline Spray to grease the screw-thread.
8. Screw the can foam on the gun.
9. Pull trigger of the gun again until foam is released and cleaner completely removed.
10.The gun is now ready again for use.